Adjust lighting
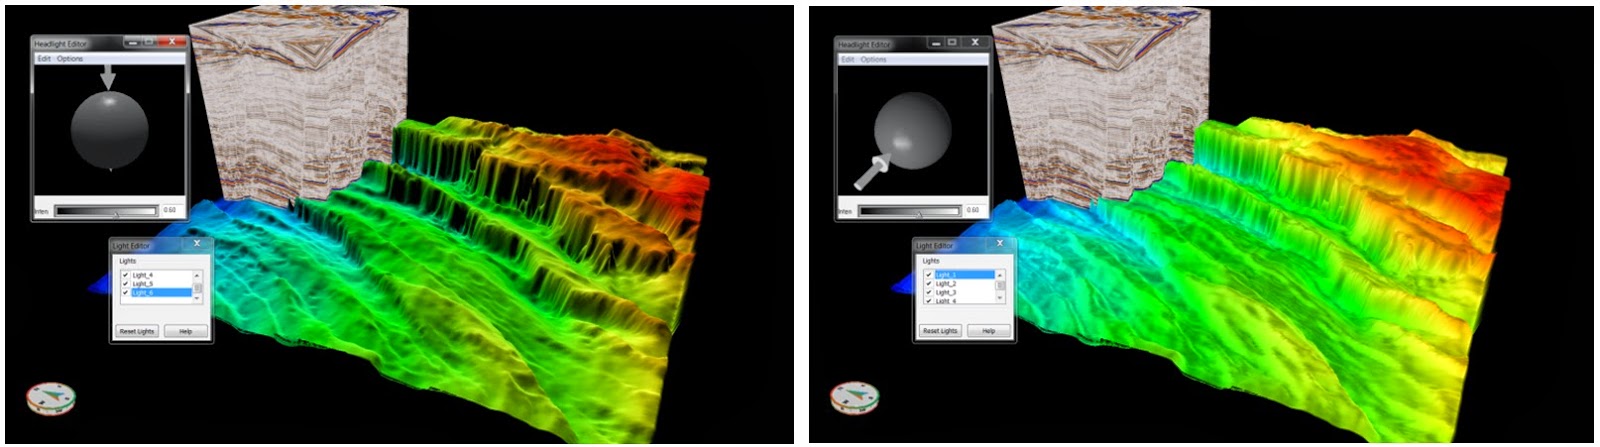
When working with horizons, arbitrary and 2D lines, Adjust Lights in the View menu allows you to turn ON/OFF up to six lights and adjust the direction and colour as follows.
Use the check box to turn ON/OFF a particular light, and click on the name to call up the
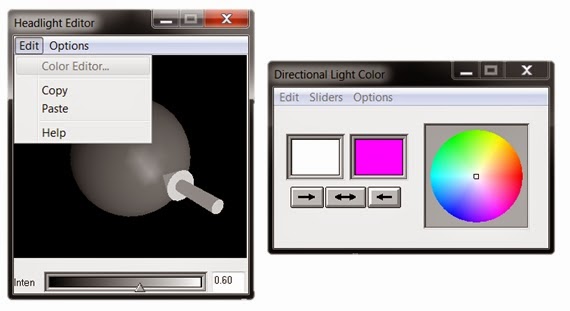
Headlight Editor
for that light. The lights are originally arranged in opposite pairs, one for each direction, as shown below, with a medium illumination value.

Change the light intensity with the slider and the direction by clicking and moving the handle.
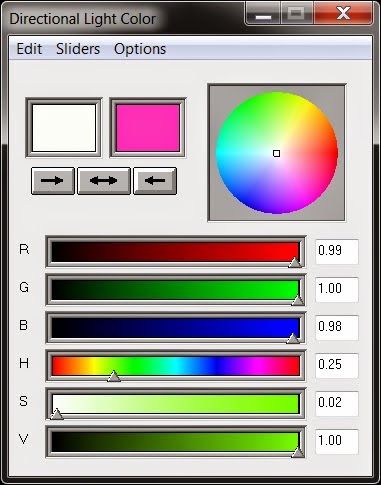
The Colour Editor is accessed via the Headlight Editor Edit menu shown below.
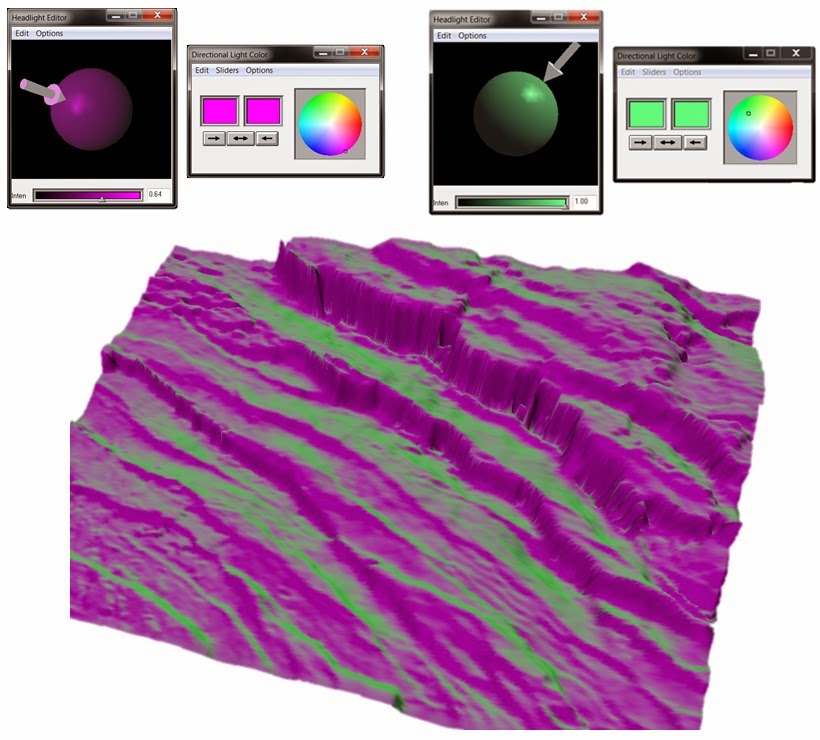
Using a pair of lights with different colours can be useful for visualising horizons as shown below.
Lighting Options
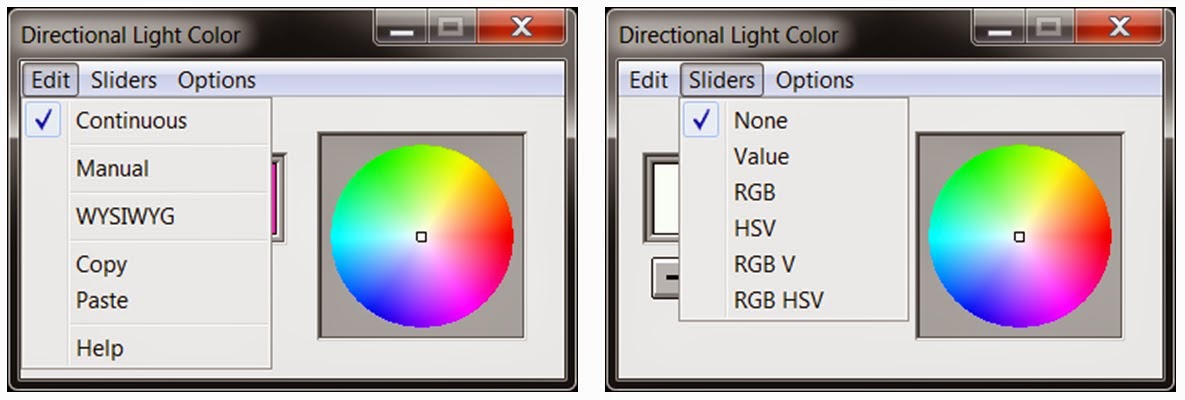
The Directional Light Edit Menu has the following options:
- Continuous will change the display colours as you change them.
- Manual will only change the display when you click Accept.
- WYSIWYG (What you see is what you get) is a truer representation of the colours that will be displayed.
- Copy will make a copy of the current values.
- Paste will retrieve the values last copied, even to another light's colour editor.
The Directional Light Sliders Menu allows you to change the number/value of sliders as follows:
- None (as shown above)
- Value
- RGB
- HSV
- RGB V
- RGB HSV (shown below)